
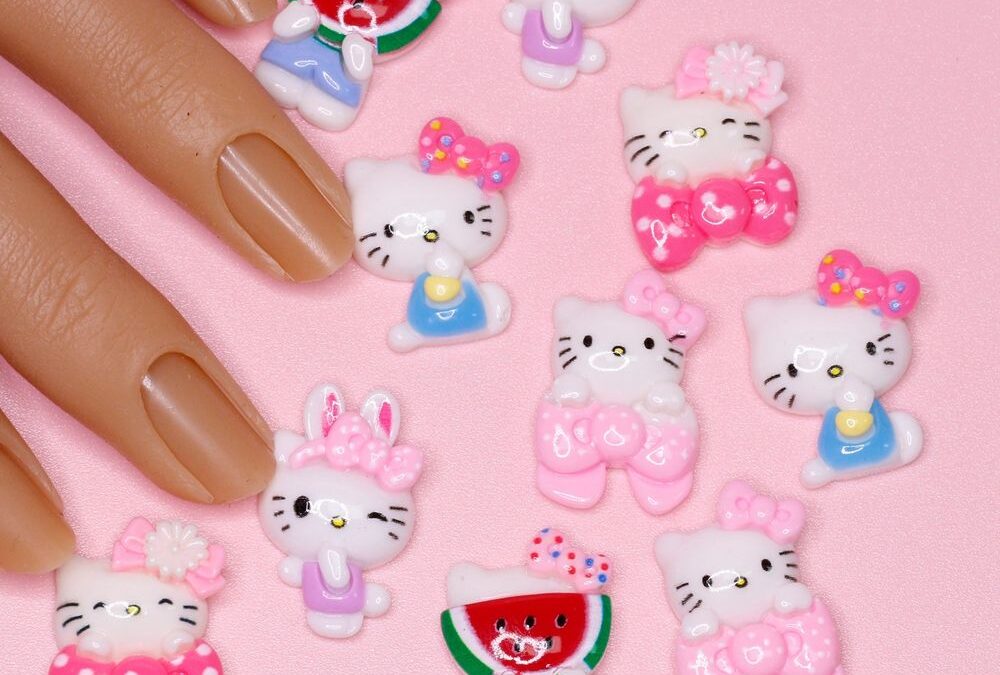
Small, playful embellishments can instantly lift a manicure from simple to show‑ready. Hello Kitty nail charms are tiny, themed decorations designed to be glued or embedded onto nail polish, gel, or acrylic nails. This beginner‑friendly guide explains what these charms include, how to apply them safely, and simple design ideas you can try today.
Each bag contains 10 mixed kawaii character charms — a mix of Sanrio‑style favorites and cute animals — sized for fingernails. If you want to pick up a pack, you can find a set like Hello Kitty nail charms from Dynamic Nail Supply; many bags are affordably priced at around $6.00, though prices may change.
What exactly are Hello Kitty nail charms?
These charms are tiny decorative pieces shaped like popular kawaii characters and cute icons. They’re made to be applied to natural nails, gel overlays, or acrylic enhancements. The kit referenced here contains 10 mixed pieces in one bag, giving you a handful of motifs to mix and match across manicures.
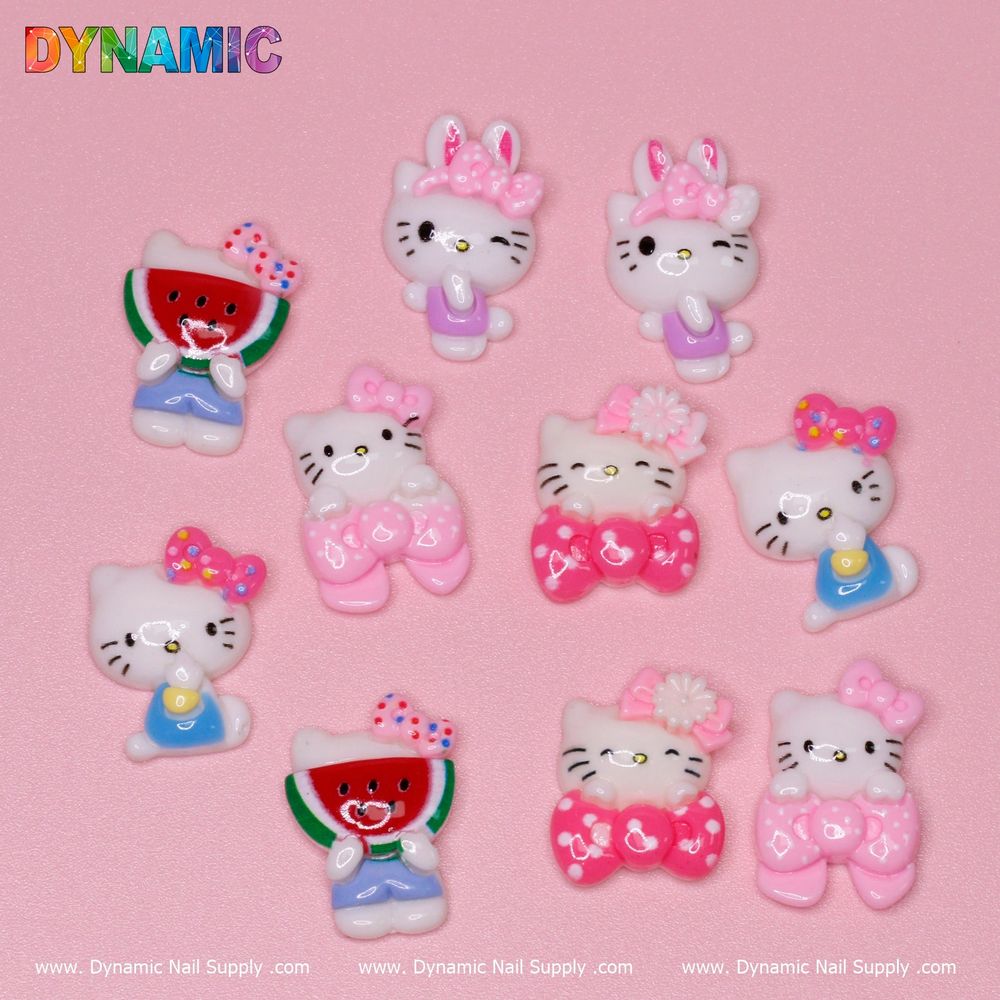
What’s typically included in the 10‑pc bag
- Ten mixed, small character charms sized for nails.
- A variety of kawaii figures suggested by tags such as Charmy Kitty, Chococat, Cinnamoroll, Kuromi, My Melody, Pompompurin and similar characters.
- Lightweight pieces designed for temporary nail decoration — perfect for seasonal looks or practice.
Tools and supplies you’ll need
Before you start, gather basic tools so the process is smooth:
- Clean nails and a gentle cleanser (or rubbing alcohol) to remove oils.
- A base polish (regular, gel, or builder gel depending on your method).
- Nail glue or a clear gel topcoat/cure system for gel applications.
- Dotting tool or tweezers to pick up and place tiny charms.
- Topcoat (regular or gel) to seal the charm into place.
Step‑by‑step: applying charms for beginners
1. Prep the nail
Start with clean, dry nails. Push back cuticles and lightly buff the nail surface so the adhesive can bond better.
2. Apply base color
Paint your nails with two thin coats of your chosen polish or set up your gel/base layer as usual. Cure gel layers if applicable.
3. Place the charm
Decide where the charm should sit — center, near the cuticle, or offset. Use tweezers or a wax pencil to pick up the charm. If using nail glue, apply a small dot where you want the piece and press the charm down for a few seconds. For gel, place the charm into a dab of uncured clear gel and then cure under the lamp according to your gel’s instructions.
4. Seal the design
Finish by applying a topcoat around and over the edges of the charm if it’s flat enough to accept a seal. For raised or bulkier charms, try sealing only the surrounding base and let the charm stand slightly proud for texture. If using gel topcoat, cure fully.
Design ideas and placement tips
- Accent nail: Use a single charm on the ring finger for a subtle focal point.
- Clustered look: Combine two or three small charms on one nail for a mini scene.
- Negative space: Place a charm near the cuticle leaving the rest of the nail bare for modern contrast.
- Coordinate colors: Choose polish shades that pick up hues in the charm to create cohesive looks.
Who should use these charms?
These 10‑piece charm bags are ideal for beginners, hobbyists, or nail techs looking to add playful, themed accents to client mini‑manicures. They’re also great for students practicing placement and adhesion techniques because you get multiple pieces to experiment with in a single inexpensive pack.
Care and safety notes
- Because charms are small, keep them away from young children and pets.
- Securely glue or gel each charm; loose decorations can catch on fabric or be accidentally inhaled if not attached properly.
- Remove charms gently with acetone or by filing the surrounding topcoat; avoid prying to protect the natural nail.
- If you have sensitive skin, avoid direct contact of glue with the cuticle area and patch‑test adhesives when in doubt.
Final thoughts
Hello Kitty nail charms and similar kawaii character accents are an easy, low‑commitment way to personalize manicures. With minimal tools and a little patience, even beginners can create charming looks using the varied pieces in a 10‑pc pack. If you’re experimenting, keep a small practice sheet or nail wheel handy to test placement before applying to live nails.