
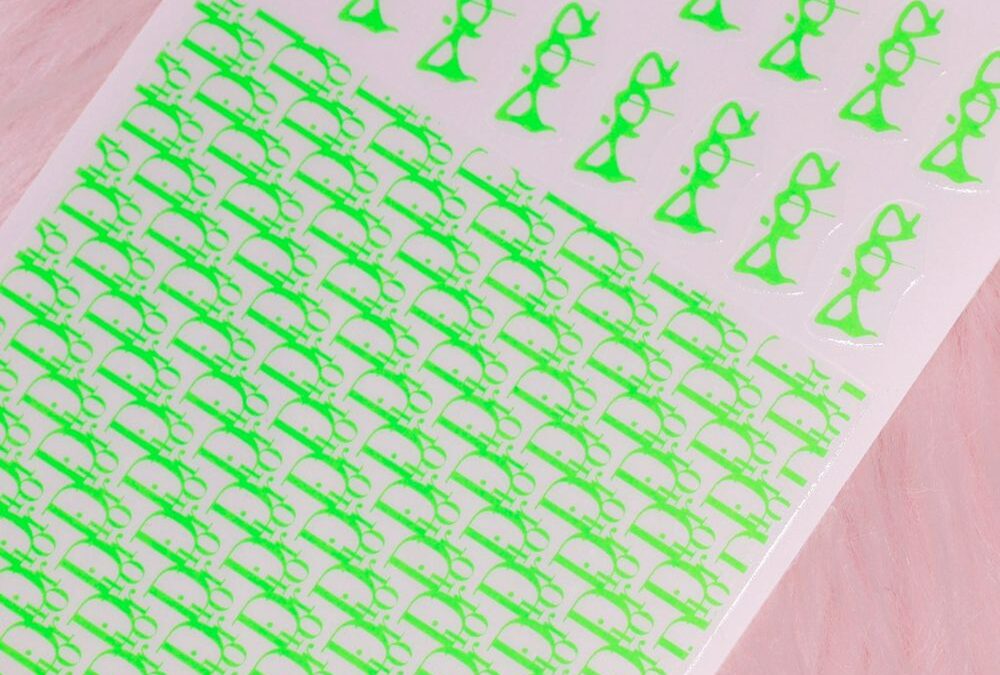
Bright, eye-catching nail details like a neon green water decal can turn a basic manicure into a statement look. If you’re new to water decals, this guide breaks down the key terms and walks you through an easy, reliable application so your nails look professional without a lot of fuss.
Want to check a ready-to-buy option? See the neon green water decal pack neon green water decal pack for an affordable way to practice and experiment.
What is a neon green water decal?
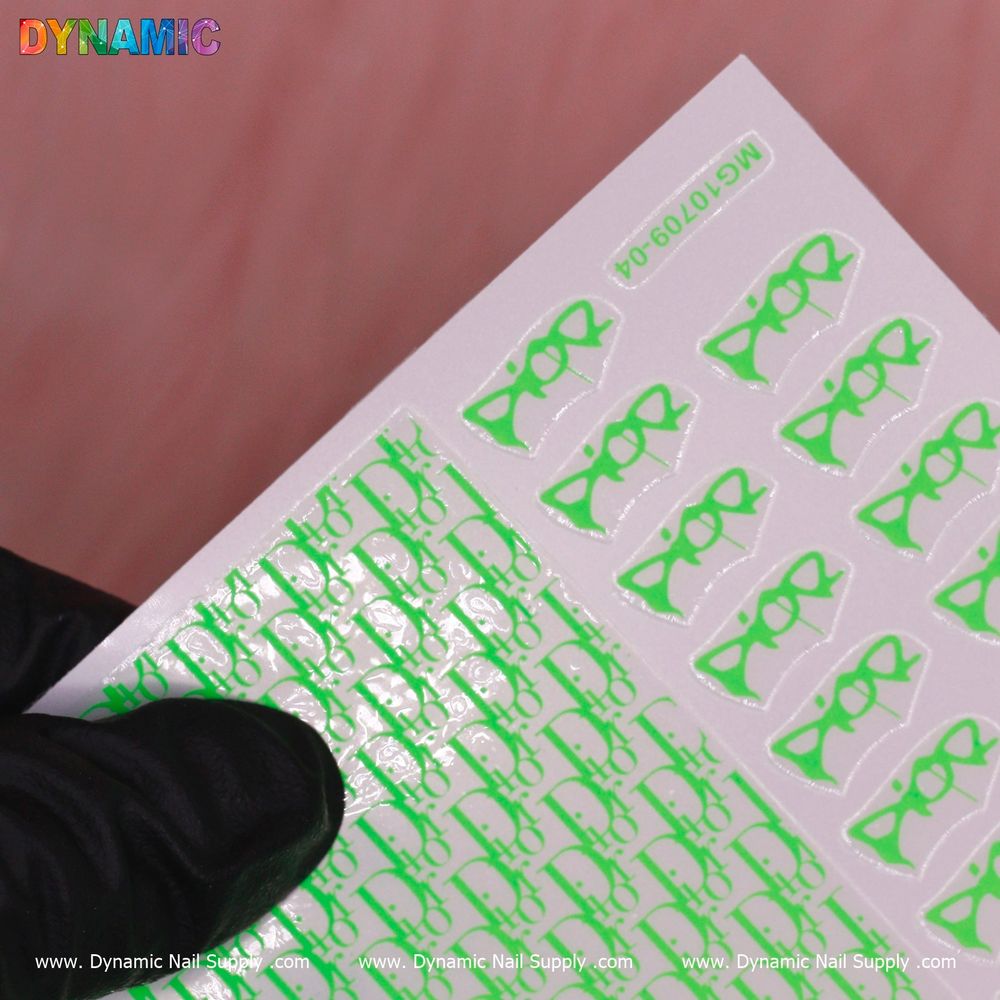
A neon green water decal is a thin, printed sticker designed specifically for nail art. Unlike traditional adhesive stickers, water decals are transferred from a paper backing after a quick soak in water. The product in question is labeled as a Luxury Water Decal (Neon Green) and is intended as a nail sticker for decorative finishes.
Key terms explained (quick glossary)
- Water decal: A printed image on a thin film that releases from its backing when moistened.
- Sticker vs. decal: Stickers usually have an adhesive layer on the back; water decals require soaking to transfer the design.
- Luxury/Designer: Descriptive tags used for style and presentation—this product is positioned as a designer-style nail art decoration.
Tools and prep: what you’ll need
Before starting, gather a few simple essentials to make the process smooth:
- Tweezers or a small spatula for handling the decal
- A small bowl of room-temperature water for soaking
- Scissors to trim the decal close to the image
- Base coat and topcoat (regular or gel, depending on your system)
- Lint-free wipes or a clean brush to blot excess water
Step-by-step application for beginners
- Prepare the nail: Clean, file, and apply a base coat. Let the base fully dry. You can use a solid polish color or a clear base—neon decals pop best over contrasting tones.
- Cut the decal: Trim the decal close to the printed design. Smaller pieces are easier to position and reduce wrinkling.
- Soak briefly: Using tweezers, dip the trimmed decal into water for a few seconds until the film loosens from its paper backing.
- Slide onto the nail: Gently slide the film off the backing and position it on the nail surface. Use a damp brush or your fingertip to nudge the decal into place.
- Remove excess water: Blot around the edges with a lint-free wipe and press the decal down to eliminate air pockets.
- Seal with topcoat: After the decal is positioned and the surface is dry to the touch, apply a topcoat to lock the design in. For gel systems, cure according to your gel product instructions.
Practical tips and common fixes
- Wrinkles or folds: If the decal wrinkles, lift it gently while still damp and re-position. Small creases can often be smoothed with a wet brush before sealing.
- Edges lifting: Trim excess film that overlaps the free edge of the nail, then reseal with topcoat to prevent peeling.
- Color pop: A dark or contrasting polish under neon green will make the color read brighter; experiment with base colors for different effects.
- Speed up drying: Blot gently and wait a few seconds before topcoating—the decal needs to be set but not soaking wet.
Who this product is for
This neon green water decal suits several users: beginner nail artists practicing transfers, hobbyists who like bold accent nails, and salon technicians adding a quick designer-style detail. Priced affordably at $2.00, it’s an economical way to test a neon look without committing to custom polish or complex techniques. Prices may change, so check availability before buying.
Care, storage and safety notes
- Storage: Keep decals flat in a cool, dry place to avoid curling or moisture damage.
- Handling: Use tweezers for placement to avoid fingerprints and oils on the adhesive surface.
- Safety: Keep small pieces away from children and pets. Avoid ingesting adhesive materials.
- Longevity: Proper sealing with a topcoat will extend wear; keep nails dry for an hour after application for best adhesion.
Final thoughts
For anyone curious about bright, designer-style nail accents, a neon green water decal is a low-cost, low-effort way to explore vibrant nail art. With a little practice you can achieve clean, long-lasting results—perfect for accent nails, seasonal looks, or adding a pop of color to client services. This kind of sticker is an accessible tool whether you’re building a beginner kit or expanding a salon’s quick-decor options.
Available from sellers such as Dynamic Nail Supply, these decals make experimenting easy and fun.